Roman pizza bianca is the perfect type of bread for freezing.
When I started my Roman pizza journey, I really immersed myself in the science behind how it’s made. I’m talking about the style of pizza known as “al taglio”.
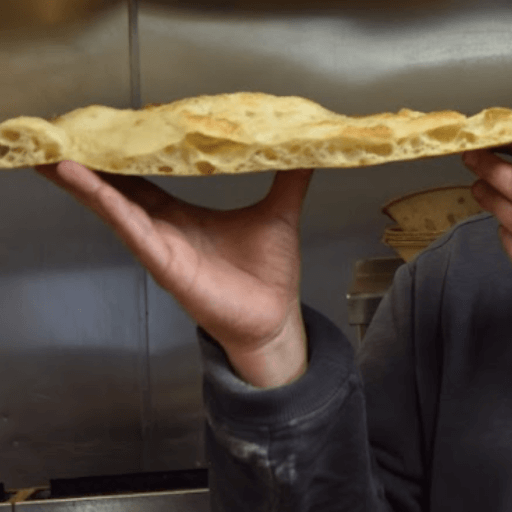
In case you aren’t familiar with this style of pizza, it’s really something special. People are always amazed that it can have such a light and fluffy texture, but still maintain a sturdy and crunchy crust.
A lot of hard work goes into making this style of pizza dough. A couple of interesting things about this style of dough is that it’s made with a lot of water and it’s fermented over a long period of time.
I’m talking about 72 hours of fermentation. During this time the dough develops a really delightful flavor that’s unlike any other Italian bread or pizza crust. that I know about.
It also creates a style of pizza that is made for later use. What I mean by that is the pizza is supposed to be cooked three (3) times. I’ll explain more about that later in the article.
Just like an authentic Italian focaccia recipe, this style of Roman pizza can also be frozen.
What Is Roman Pizza Bianca
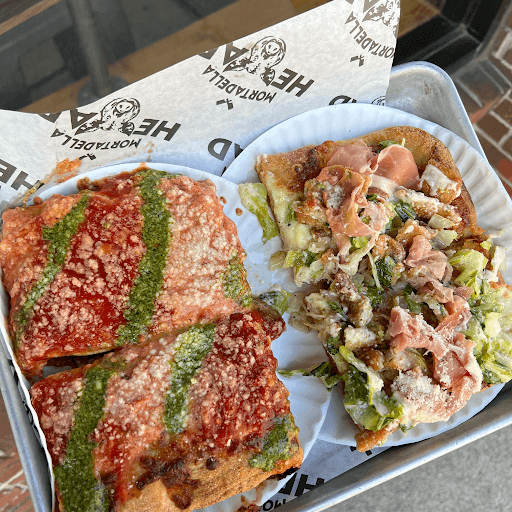
Roman pizza bianca is what you get after the first bake when making ‘al taglio style pizza.
When you travel to Rome you will see many pizza shops selling pizza by the slice in square-shaped pieces. They usually cut them with scissors.
Here’s a quick summary on the steps to making real Roman pizza bianca
First you want to make your dough. The process is similar to making bread dough. It calls for a very high hydration which is similar to making focaccia dough.
The dough only has flour, yeast, water, salt and olive oil.
I was taught to use a high protein flour. We want a flour that will create a strong dough. We need something that will create more gluten than all purpose flour.
When I make Roman pizza dough I use instant yeast. You can also use an active dry yeast.
First I mix the flour and instant yeast together, making sure the yeast gets evenly distributed.
Next I add the water. I like using cold water because it keeps the yeast from acting too fast.
When the dough starts to form I add the salt and olive oil.
I mix the dough until it starts to release itself from the side of the bowl. If I’m using a stand mixer I allow the dough hook to do its work until a nice ball of dough is formed.
Then I remove the dough from the bowl and put it in an airtight container or a bowl covered tightly with plastic wrap. I also rub a little bit of olive oil around the bowl before I add the dough. Then I rub a little olive oil on the top of the dough.
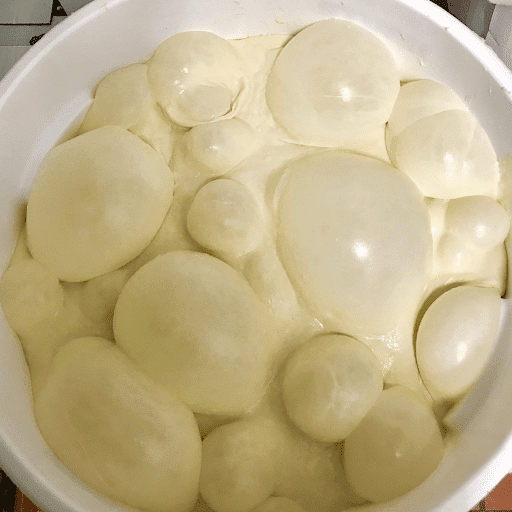
The next step is to put the dough into the fridge for a couple of days. The cold temperatures will allow the dough to ferment slowly. This is the bulk fermentation stage. Sometimes I hear it called the first rise…although you won’t see it rise much.
For best results after the first day I flip the dough over. This allows the yeast to distribute evenly throughout the dough.
After 48 hours I remove the dough from the fridge and cut it into smaller portions. Then I take these smaller pieces and ball them up. I do this by folding the bottom corners to the top a few times.
Now I put the dough balls back into the fridge for another 24 hours. It’s during this second rise when the dough starts to take shape. You’ll be ready to make your pizza bianca the next day.
After the second rise it’s time to bake the pizza bianca.
I start with a 500 degree preheated oven. Let the dough rest for at least an hour by removing it from the fridge. By removing it from the fridge before you bake it you will let the dough rise and relax a little. This period of room temperature storage is important. It will be easier to handle when you put it in the sheet pan.
It’s important to handle the dough gently. Similar to when making homemade focaccia you want to use your fingertips to make little dimples in the dough. I think this is the best way to create the little air pockets that make it light and crispy.
Work the dough carefully until it completely covers the baking tray. When making pizza bianca I don’t use an oiled baking sheet.
But I lightly coat the dough with extra virgin olive oil once it’s spread in the pan. I either use a squeeze bottle or I dip a brush in a cup of olive oil and paint it on.
I bake it in the oven for about 12 minutes until the top is golden brown.
The final product is a delicious homemade bread with a light, crunchy and chewy texture.
You can absolutely freeze it for later use.
I like to wrap it tightly in plastic wrap to avoid freezer burn. The shelf life in the freezer is about 6 months. It’s nice to have delicious bread in the freezer whenever you need it.
How to Use Frozen Roman Pizza Bianca
Take the frozen pizza bianca out of the freezer and let it thaw.
Preheat the oven to 450 degrees. Heat up the pizza bianca for about 5 minutes and you’ll have a really nice treat.
I like to top it with halved cherry tomatoes, basil and olive oil. Then I grate some parmesan cheese over everything. It’s the perfect appetizer or snack.
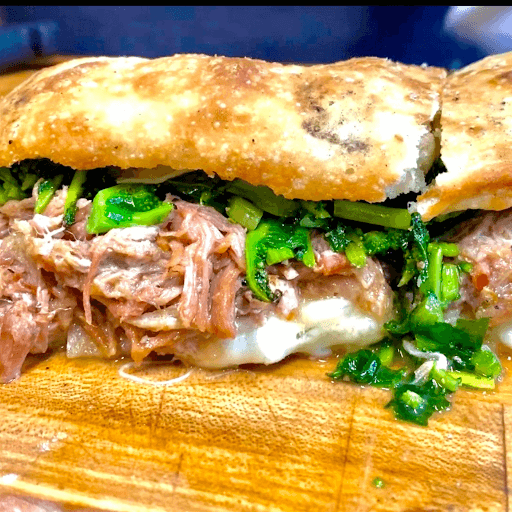
You can also split it in half like you would leftover focaccia and make a sandwich out of it.
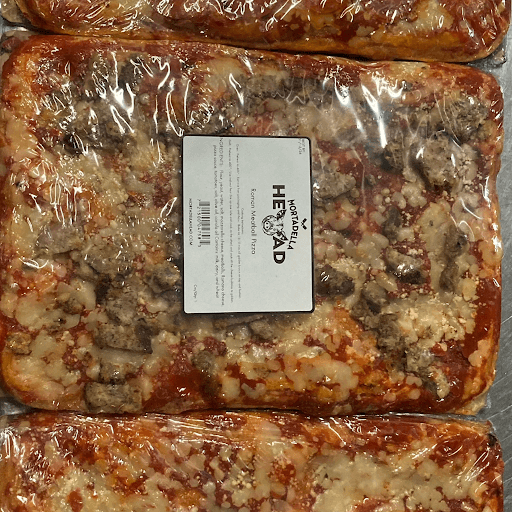
How Long Can You Freeze Roman Pizza
With proper storage Roman pizza can stay in the freezer for up to six (6) months.


