It’s that time of year! The holiday season is the perfect time to showcase your baking skills, and what better way to do it than with a beautifully made Christmas cake?
Today, I will be showing you some of my favorite Christmas cake ideas.
Tips before we get started:
- My first tip before frosting any cake is to always do a crumb coat. A crumb coat will make the frosting go on your cake nice and smooth once it’s time to actually frost because it keeps the stray crumbs from coming loose when it’s time to frost.
-
- To make a crumb coat, you simply put a thin layer of frosting on your cake layers and put it in the fridge or freezer for about 15 minutes to give it just enough time to lock in those crumbs.
- My second tip is buttercream frosting. Buttercream frosting is a very flavorful, smooth, and soft frosting that is really easy to decorate and slides right on your cake. It is my favorite frosting to use when decorating, and I would recommend using it, especially for cake decorating.
- Let your cake completely cool. Before frosting your cake, make sure it has completely cooled down and is at room temperature. If it is still hot, your cake icing will not go on, and your cake will start to crumble and become a mess.
Now, it’s time to decorate our cake. I am going to be showing you three easy Christmas cake decorations for the holiday season as the home baker I am. For these cakes you can either use white cake or chocolate cake, whichever one you prefer.
Cake designs:
Candy Cane Cake
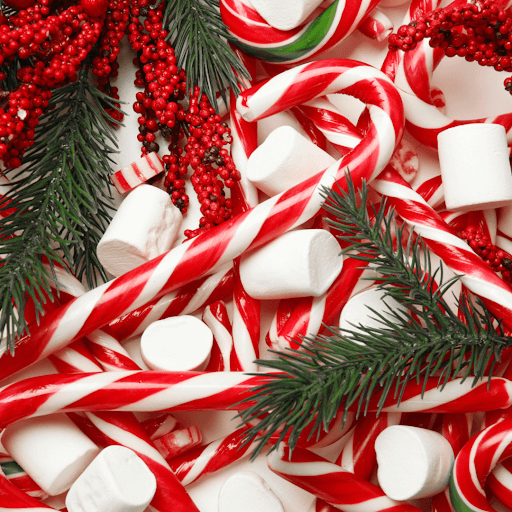
The first cake design is a candy cane-themed cake. The first thing you want to do is to layer your cakes and then frost them with white frosting using a small offset spatula to make sure the frosting is nice and smooth.
Candy canes are red and white, so you are going to have to dye about half a cup of red buttercream frosting and put it in a piping bag. I recommend using gel food coloring as it’s easier to mix with your frosting.
Cut a strip of parchment paper and draw a straight line on it. Use that line to guide you with your buttercream, and then freeze the strip of red buttercream you just piped until it is hard. Repeat this with enough stripes to cover your cake.
Now press your red stripes onto the side of the cake, leaving a stripe of white in between, just like the stripes on a candy cane. If your cake starts to soften, put it back into the fridge. Peel off the parchment paper of the red stripes once your cake is completely done.
If you want to add a little extra, you can add crushed candy canes to the top. I hope you try this cake out and enjoy it!
Santa Cake
Can you name something more in the holiday spirit than a Santa cake? I don’t think so! This is a buttercream frosting cake, and you will also need a piping bag for this with a 1M frosting tip for Santa’s beard.
You are going to need white frosting, black frosting, yellow frosting, and deep red buttercream for this cake, so I would recommend making it beforehand and letting it sit so the color can deepen over time.
Layer cakes and chill them in the fridge before you start the process. Once they are done chilling, take them out of the fridge. If your hands run hot, I would recommend putting a paper towel around the piping bag so your hands don’t warm the frosting.
Start by frosting the sides of your cake smoothly with red buttercream using a bench scraper. Do not worry about getting the top of the cake with the red frosting just yet. We will worry about that later.
Next, we will be making Santa’s belt. Go about halfway up the cake and pipe a black line around the cake like his belt around his stomach. Use the yellow buttercream to pipe a square around the belt like Santa’s belt buckle.
Now, we are going to do Santa’s arms. Start by making two diagonal lines going towards his belt. Then, pipe two skin tone circles at the end of the arms for hands. To make skin tone, mix white frosting with a little bit of yellow.
Now we’re moving on to the last part, which is Santa’s face. Cover the top of the cake with skin tone frosting, Then pipe a line of red frosting 3/4 of the way up the top of the cake for Santa’s hat.
Pipe an elongated triangle at the top of the hat so it looks like it’s hanging in Santa’s face. Then, use the white buttercream to make swirls around the hat so it looks like it’s the fur on his hat.
Then, use your black buttercream for Santa’s eye and mouth and the skin tone buttercream for the nose. The last step is to pipe white swirls of buttercream around Santa’s mouth so that it looks like his beard and mustache.
Enjoy your Santa cake during this festive season!
The next Christmas cake decoration idea is a buttercream Christmas tree cake with Christmas lights. This cake will really get you rockin’ around the Christmas tree this holiday season!
For this cake, you need a deep and light green frosting and colorful big M&Ms. Mix all your food dyes in with your buttercream frostings and let them sit overnight so your color can deepen.
First, cover your cake with a thick layer of light green frosting. Then put it in the fridge for 20 minutes or freezer for 10.
Now it’s time for the best part: decorating the cake! Pipe squiggly lines of dark green frosting all around your cake like strands of Christmas lights drawing a circle at the top of the cake. Then, pipe small circles on the lights where the M&Ms will go.
Use a small spoon to create a little indent of where the M&Ms will go. Carefully place all of your M&Ms on the cake.
There you have it, a Christmas tree cake! This is my favorite traditional Christmas cake because it’s a super simple cake but also perfect to bring to the holiday table this year.
How I make the best buttercream frosting:
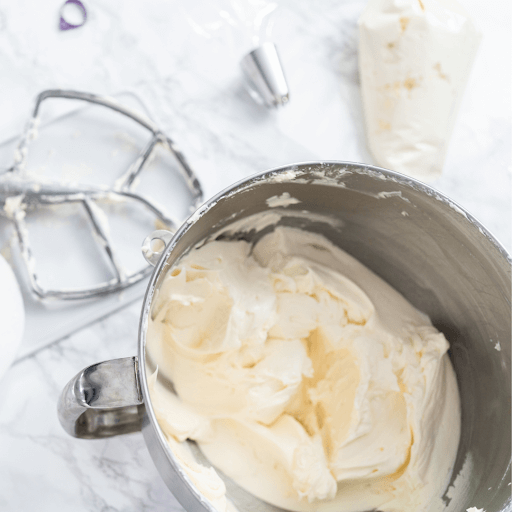
I will believe til the day that I die that I have the best and simplest buttercream frosting to exist. With such simple ingredients, it’s delicious and has the perfect texture with only five ingredients.
Powdered Sugar: Powdered sugar, also known as icing sugar, helps to thicken the frosting and sweeten the frosting, giving it most of its flavor.
Butter: I use unsalted butter because the amount of salt in regular butter can mess with the taste of the frosting, making it more salty.
Heavy Cream: I like to either use heavy cream or whipping cream because they really give it that nice texture. You could replace it with milk, but keep in mind it won’t be as thick or rich.
Vanilla Extract: This really adds that vanilla flavor to the frosting, making it nice and flavorful. You can also use different extracts like almond extract, lemon extract, etc.
Salt: Salt helps by balancing out the sweetness so it’s not too sweet; I always use just a pinch!
To start, make sure your butter is soft so the frosting will be nice and creamy. I use two sticks of butter, which is equivalent to one cup.
Beat the butter with a hand or standard mixer on low speed until it is nice and smooth.
Then add in 3 cups of powdered sugar. I usually like to add one cup at a time so the powder does not get everywhere.
Once you have mixed your sugar and butter, add in 1/4 of heavy cream, two teaspoons of vanilla extracts, and a pinch of salt and mix. You can move the mixer up to medium speed if you want to.
If you need to stop during the mixing process and scrape the sides of the bowl to make sure everything is well combined, that is totally fine.
Now you have the easiest and best buttercream frosting recipe with the perfect consistency that you can decorate your cakes with or even Christmas cookies! You can use it right away or store it in your fridge for up to 1 week.
Frequently Asked Questions and Answers:
Q: Can you use royal icing instead of buttercream?
A: Yes, you can, but it would be much harder since it’s such icing is made for more cookies and not so much cakes.
Q: How long can a decorated cake last for?
A: A decorated cake can last for up to 2 days at room temperature but a week in the fridge before it starts to taste a little weird.

