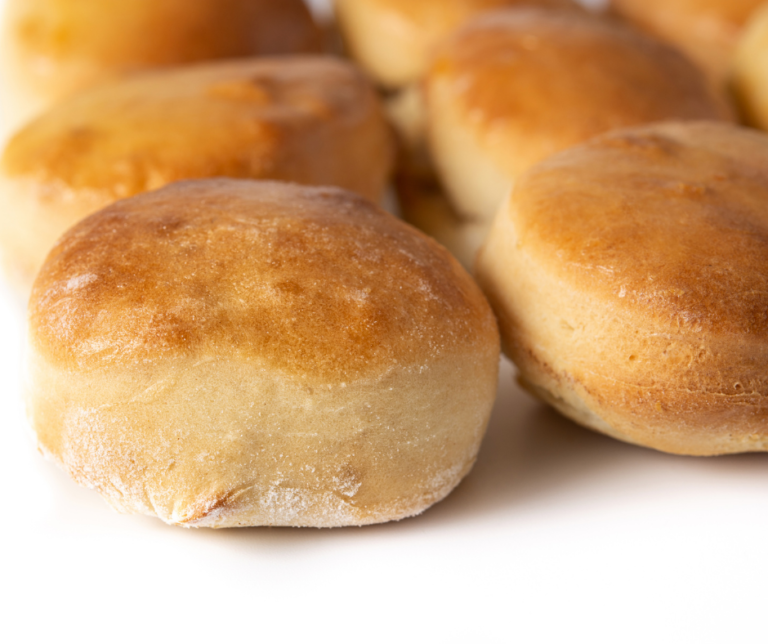
Last week, I spent most of my time baking and testing new recipes. And today, I want to share a new one. Here’s how to make 3-ingredient biscuits without milk.
Yes, you read that right! A delightful, dairy-free alternative that’s just as fluffy and satisfying as the original.
These biscuits are incredibly soft, with those coveted flaky layers, and the perfect golden brown tops. And guess what? This easy biscuit recipe calls for just three simple ingredients, making it a breeze to whip up any time.
So, why wait? It’s time to roll up our sleeves and get baking!
What I love about this easy recipe is that it doesn’t require regular milk or any complex techniques. It’s all about making do with what you have and still creating something utterly delicious. These fluffy biscuits are the best way to start your day or complement a hearty meal.
Typically, you’d need whole milk and a bunch of other ingredients to achieve that perfect texture and taste. But I’ve simplified it for everyone who wants a quick, foolproof way to satisfy those biscuit cravings.
Let’s dive into how you can make these wonders with just a large mixing bowl and basic kitchen tools.
Here’s What You’ll Need!
Self-rising flour: This is the foundation of your biscuits. Self rising flour is a unique blend that includes baking powder, which helps your biscuits achieve that desirable height and fluffiness. If you only have all-purpose flour, you can make your own self-rising flour by adding 1 1/2 teaspoons of baking powder and a pinch of salt per cup of flour.
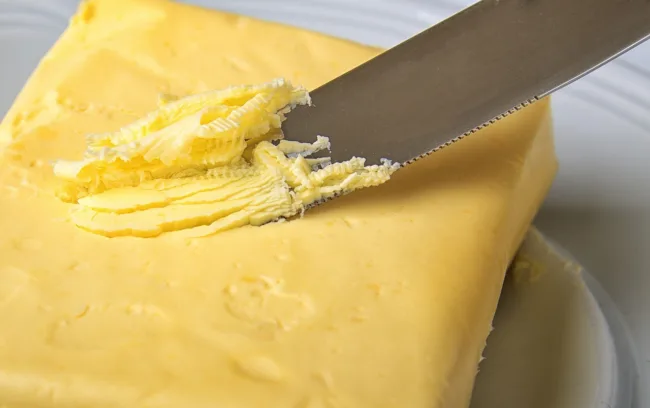
Lactose-free margarine: Instead of regular butter, we’re going with margarine to keep it dairy-free. Make sure it’s at room temperature so it blends effortlessly with the flour.
Oat milk: A fantastic substitute for whole milk, oat milk complements the other ingredients without compromising the taste or texture of your biscuits.
Required tools:
- Pastry cutter or electric mixer;
- Rolling pin;
- Baking sheet;
- Parchment paper;
- Oven.
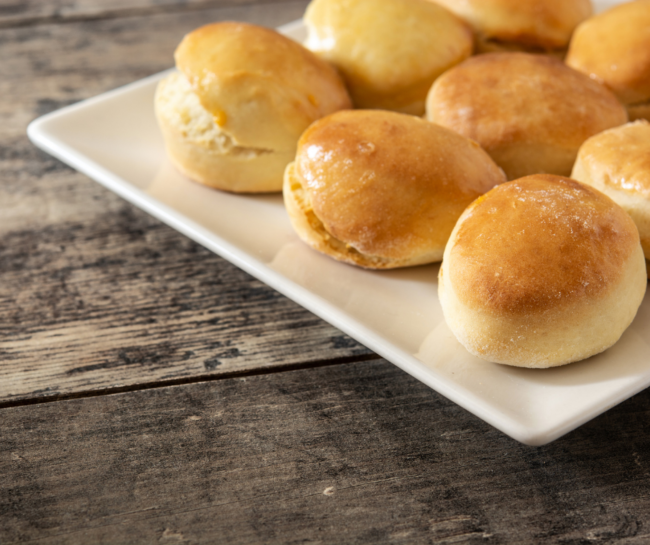
Optional ingredients
With these simple ingredients and tools, you’re all set to bake.
As per usual, the precise amounts are in the recipe card at the bottom of this post. I’ve narrowed the ingredients down to 3 because I wanted my recipe to be extra simple. However, you can customize it in a lot of ways depending on what you have. Here are a few options.
Salt: obviously. These biscuits are already delicious without it, but if you’d like some extra saltiness, feel free to add a teaspoon of salt to the dough.
Plant-based buttermilk: Who would say no to some delicious homemade buttermilk biscuits? If you want to make a lactose-free variant, lower the amount of margarine to 4 tbsp, and add a cup of vegan buttermilk. Don’t have it at home? Worry not, I found a simple recipe made with just oat milk and lemon juice!
Heavy cream: some people like to add cream on top of their biscuits right before baking. I haven’t tried it yet, though.
Herbs and spices: try adding some chili flakes to the dough. If you like spicy food as I do, it will take your biscuits to the next level. You could also add some finely chopped chives or parsley, or some mustard powder.
Onion slices or chopped garlic: I don’t know about you, but I love every type of bread made with any of those two. I particularly recommend this addition if you’re going to have your biscuits alongside with sausage gravy.
Cooked bacon: this addition would make your biscuits perfect as an appetizer. Take some lightly cooked bacon strips and cut them into tiny pieces. Incorporate into the dough before baking, and voilà! You can thank me later 😀
Consider serving your biscuits with honey butter or sausage gravy for an extra touch of home-cooked goodness.
But now, enough with the additions – let’s start from the basics. Ready to see how these three simple ingredients come together? Let’s jump right into the recipe!
Method
Step 1: First things first, you’re going to need a large bowl. This is where the magic starts. Now, go ahead and sift your self-rising flour right into that bowl. I always say sifting is essential for those fluffy biscuits we all crave. It’s all about adding air to make sure they’re as light as a feather.
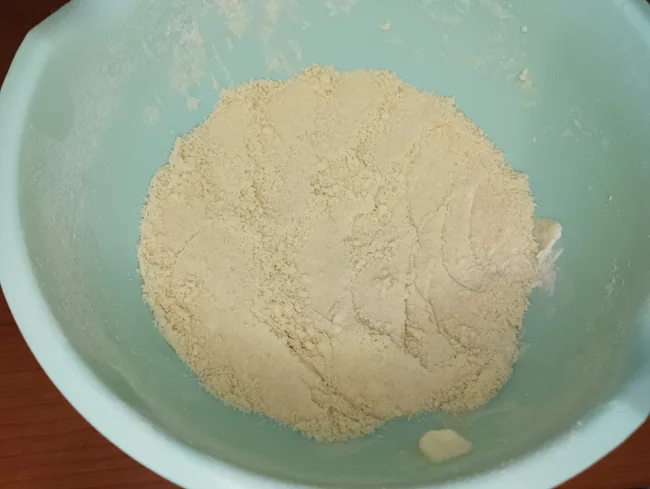
Step 2: Now, here comes the fun part! You’ll need your pastry cutter for this step. If you don’t have one, don’t fret; an electric mixer does the trick just fine. Grab your lactose-free margarine – make sure it’s at room temperature, it makes all the difference. Blend it into your flour until it looks like lovely little crumbs. This mixture is the secret behind those desirable flaky layers in your biscuits.
Step 3: Next up, instead of whole milk, we’re using oat milk, a little twist for our dairy-free friends. Pour it in slowly and stir until that biscuit dough forms.
Step 4: Cover the dough ball with plastic wrap and let it rest in the refrigerator for at least 30 minutes. This is important because it will make the dough less elastic. It will also make the margarine melt a little more slowly in the oven, which will make your biscuits softer and chewier.
After the 30 minutes are up, start preheating the oven to 356°F/180°C.
Step 5: Now, sprinkle some flour onto a clean surface where you’ll roll out your dough. But remember, treat it kindly; we’re just doing gentle kneading until it’s smooth. Grab your rolling pin and roll out your dough to about 1/2 inch thickness. This thickness is the best way to ensure they rise evenly.
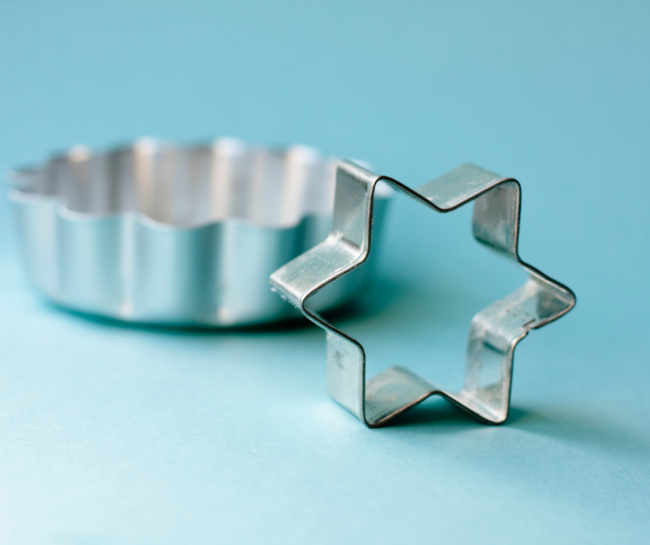
Don’t forget the joy of cutting out the biscuits! You can use a cookie cutter or even an upside-down glass; make it work! Place these raw bundles onto a baking sheet lined with parchment paper. Giving them space is essential – they need room to grow and become their delicious selves.
Step 6: It’s time for the oven! Bake your creations for 10-15 minutes. You’ll know they’re ready when they’re a beautiful golden brown.
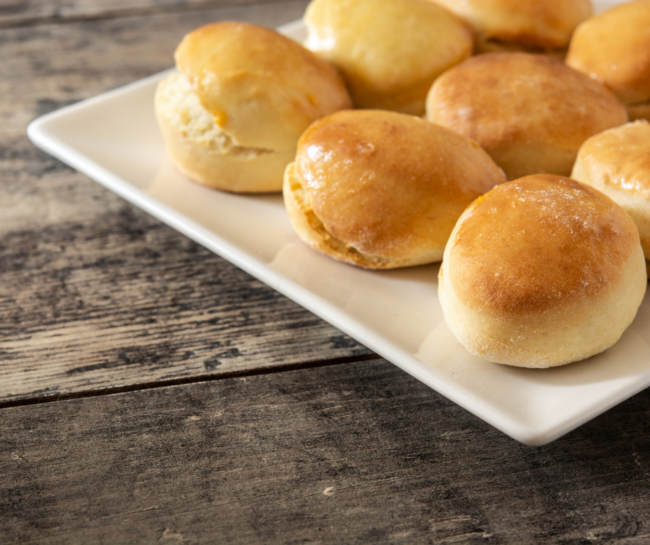
Once you take your biscuits out of the oven, let them cool a bit. They’re scrumptious as they are, but who could say no to a dollop of honey butter or a spoonful of sausage gravy?
Step 7: And there you have it, the secret to happiness on a plate. If you have leftovers, pop them into an airtight container. They’re just as delightful the next day. Enjoy – it’s a simple pleasure that comes from simple ingredients.
Frequently Ask Question’s (FAQ’s)
Q: Can I use water instead of milk in biscuit recipes?
A: Yes! That’s exactly the point of these 3-ingredient biscuits without milk. Water or even a dairy-free alternative like almond milk can work just fine.
Q: Can I use water instead of milk in biscuit recipes?
A: Yes! That’s exactly the point of these 3-ingredient biscuits without milk. Water or even a dairy-free alternative like almond milk can work just fine.
Q: What’s the best fat to use in 3-ingredient biscuits without milk?
A: Cold butter is your best friend for flaky layers. But shortening or vegan butter also works if you’re going dairy-free or just using what you have on hand.
Q: Why are my biscuits turning out flat?
A: It might be your baking powder. Make sure it’s fresh and that you don’t overwork the dough. With 3-ingredient biscuits without milk, less handling means fluffier results.
Q: What’s the best way to reheat leftover biscuits?
A: Pop them in a 300°F oven for about 5–7 minutes, or use a toaster oven. Microwaving works too, but the oven keeps the outside slightly crisp—just how we like it
Q: Can I add flavors or extras to this recipe?
A: Totally! While this 3-ingredient biscuits without milk recipe is great on its own, feel free to add herbs, shredded cheese, or a touch of honey for extra flavor.
Biscuits This Easy Deserve a Spot in Your Recipe Box
There you have it—3-ingredient biscuits without milk that are flaky, golden, and almost too easy to make. Whether you’re out of milk or just want a no-fuss bake, this recipe delivers cozy, homemade flavor in minutes.
Try them out and let us know how they turned out in the comments! Got a fun add-in or favorite way to serve them? We’d love to hear your twist.
And hey, if you’d rather skip the baking and just enjoy something delicious, visit our store here: https://mortadellaheadstore.com/ 🧈🍞
Print
3-ingredient Biscuits Without Milk (Southern American Style)
5 Stars 4 Stars 3 Stars 2 Stars 1 Star
No reviews
- Author: Mortadella Head
- Total Time: 50 minutes
- Yield: 20 biscuits 1x
Ingredients
2+½ cups self-rising flour (300 gr)
1 stick lactose-free margarine (125 gr)
⅓ cup oat milk (80 gr)
Instructions
- Add margarine and flour to a large bowl, and mix with an electric mixer until a coarse meal is formed.
- Now, also add the oat milk and mix a little with a spatula, then continue kneading with your hands until you get a dough ball. The ball should have a soft consistency and not be too sticky. If it sticks to your hands, add a little more flour.
- Cover the dough ball with plastic wrap and let it rest in the refrigerator for at least 30 minutes. This is important because it will make the dough less elastic. It will also make the margarine melt a little more slowly in the oven, which will make your biscuits softer and chewier.
- After the 30 minutes are up, start preheating the oven to 356°F/180°C.
- Roll out the dough on a floured surface, and use a cookie cutter to form your lactose-free biscuits. If you’d like to give them a more homey shape, cut the ball into chunks and then use your hands to roll and flatten them.
- Place the soon-to-be biscuits on a baking dish covered with parchment paper.
- Place a cast-iron or an oven-proof pot full of water on the bottom of the oven. This will prevent the biscuits’ crust to harden too soon, and will allow them to keep rising as they bake.
- Bake the biscuits for about 10 minutes until they start to brown. The exact baking times may vary depending on your oven, so check them often (but do not open the oven).
- Take the biscuits out of the oven and let them cool off.
- Serve them with gravy or as a side dish for a hearty meal, or store them in an air-tight container at room temperature for up to 3 days.
- Prep Time: 40 Minutes
- Cook Time: 10 Minutes
- Category: Biscuits
- Cuisine: American

