So, summer officially ended a few days ago. Here in Italy, the weather has already turned a little colder, and October (my favorite month) is finally upon us.
To say goodbye to the old season, I decided to try to make a pie that had the flavors of the most refreshing long drink: a piña colada cheese pie.
Over the past year, I have experimented a lot with cakes and pies. I am usually the one in charge of making birthday cakes for family and friends, but until now I only had a couple of simple recipes in my arsenal. So, I tried to broaden my horizons with new ingredients and decorations, and while making a pie for a friend’s party, I got the idea for this dessert.
I searched online to see if there were any recipes for it, but none fully convinced me, so I decided to try making it my own way.
Piña colada is made with white rum, pineapple juice and coconut milk. I thought the best way to transpose it into a dessert was a cheese pie with a rhum-flavored pie crust, a cream and coconut filling, and a pineapple topping.
Here’s what I did.
How to make a Piña Colada Cheese Pie
First, I tried two different pie crusts, then I made the filling with a recipe I already knew, and finally I made a pineapple topping. It was a trial and error process, during which I took some notes.
At the end, I made the due corrections and came up with the final recipe at the end of this post. If you’re here just for that, feel free to scroll down and let me know what you think of it. On the other hand, if you want to see the full process for further info or inspiration, here’s how it went.

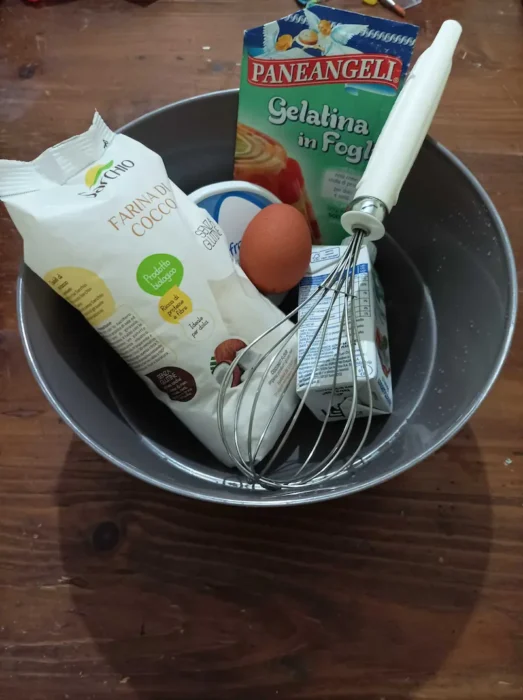
What I used
As I was saying, this recipe is divided in three parts: the pie crust, the filling, and the topping. Here’s what I used for each of them. As per usual, the exact amounts are in the recipe card at the end of the post.
For the pie crust:
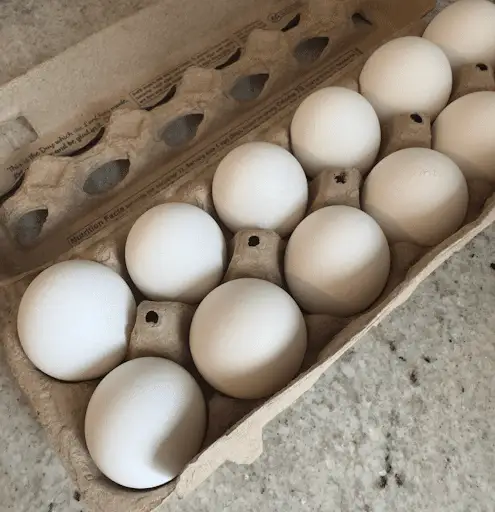
- eggs;
- coconut flour (on the first attempt) and all purpose flour (on the second trial);
- sugar;
- extra virgin olive oil (I know, it’s unusual, but trust me);
- a pinch of salt;
- baking powder (it’s optional);
- 1 shot of coconut flavored rhum.
If you’re wondering why I’ve put olive oil instead of seed oil, it’s not a mistake. I know it is more common to use seed oil because it is flavorless. However, in the last year, I’ve noticed that some brands of seed oil caused me to have skin reactions, so I started using olive oil when making shortcrust pastry and other recipes.
In my opinion, it gives the crust a better flavor and you should give it a try. As far as I know, it’s also a healthier option – not that health was my primary concern when making this pie. But if you prefer to stick with seed oil, don’t worry: you can use it in the same amounts.
For the filling:
- cream cheese;
- heavy cream;
- caster sugar;
- gelatin sheets;
- grated coconut.
For the topping:
- pineapple slices;
- granulated white sugar;
- 1 gelatin sheet.
The pie crust trials
As I have said in other posts, I like to make shortcrust pastry with oil instead of butter. I’ve tried several methods over the past few months, and now I have my preferred one (which I showed in my ricotta pie recipe).
However, for this pie, I decided to do two more experiments.
In the first one, I tried using coconut flour instead of the flour I usually go with. However, I must have used too much because the pie crust came out too hard and thick. If you decide to try this method, I suggest you follow the instructions below but with only 2 cups of coconut flour.
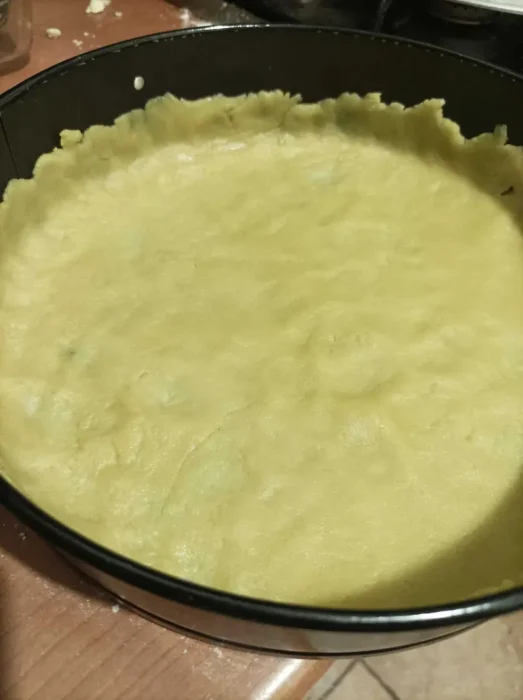
The second time, I decided to reduce a bit the amount of ingredients I usually use. I like my pie crusts to be crumbly and moderately thick (with a fair amount of filling), but my cousin recently suggested I try making them a little thinner, so I decided to give it a try.
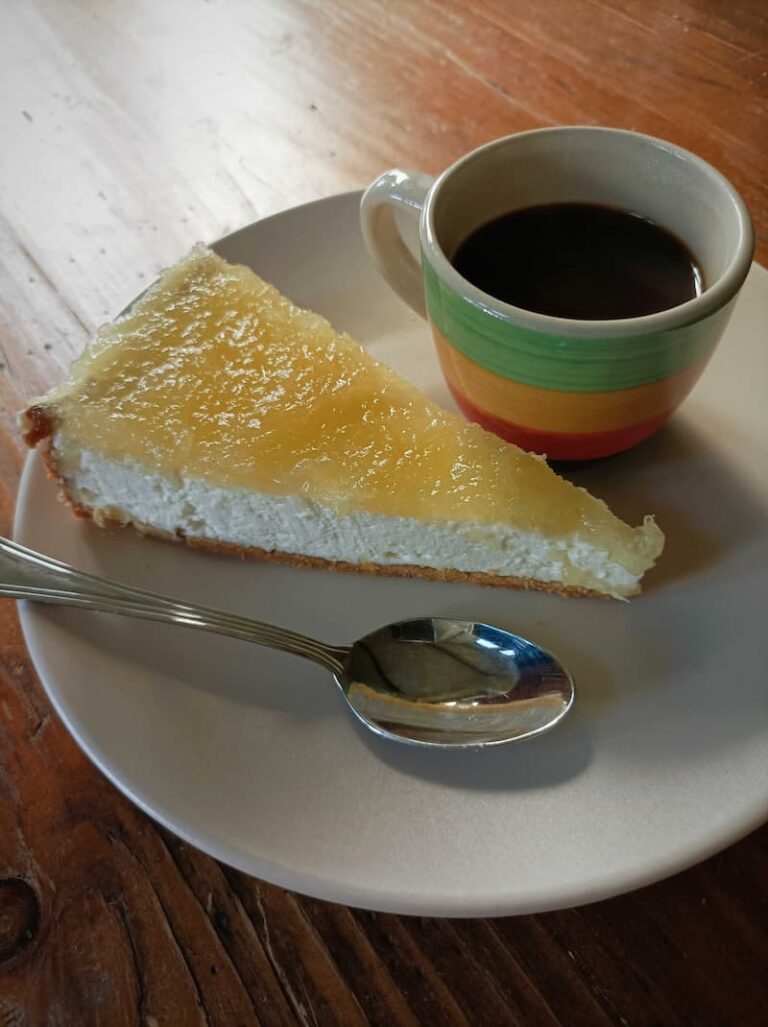
The result was as pictured below. The pie was good, but to be completely fair I would have liked the crust to be a little thicker. 😀

The amounts listed in the recipe card at the end of the post will give you a slightly thicker, crumblier pie crust, and are meant for a 9-inch springform pan. If instead you want a pie crust like the one you just saw, divide the amounts in half, or use an 11-inch pan.
How to make the pie crust
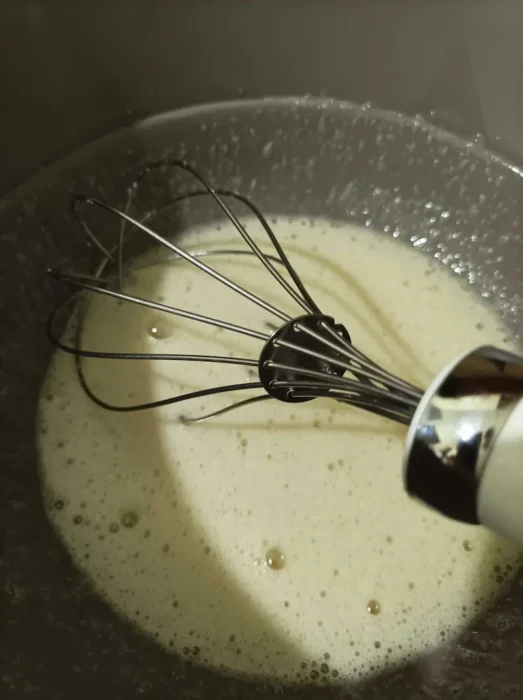
In a large bowl, mix the eggs with the sugar. Then, add the olive oil.
After that, sift the flour together with the baking powder, add them to the bowl, and mix with a spatula or with your bare hands until you get a pastry dough ball.
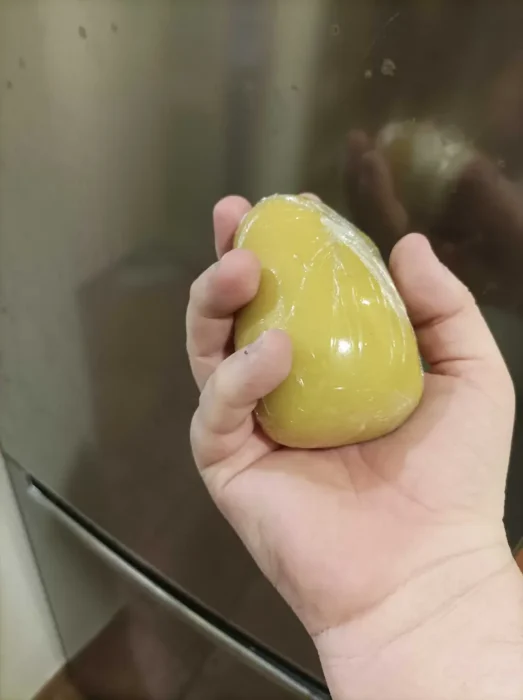
As you can see in the photo, you’ll have to wrap the shortcrust pastry ball in plastic film and let it rest for about 40 minutes in the refrigerator.
When the cooling time has passed, take a springform pan and cover its bottom with greaseproof paper. Then, take the pastry ball out of the fridge, flatten it with a rolling pin, and spread it on the pan (bottom + 1/3 sides).
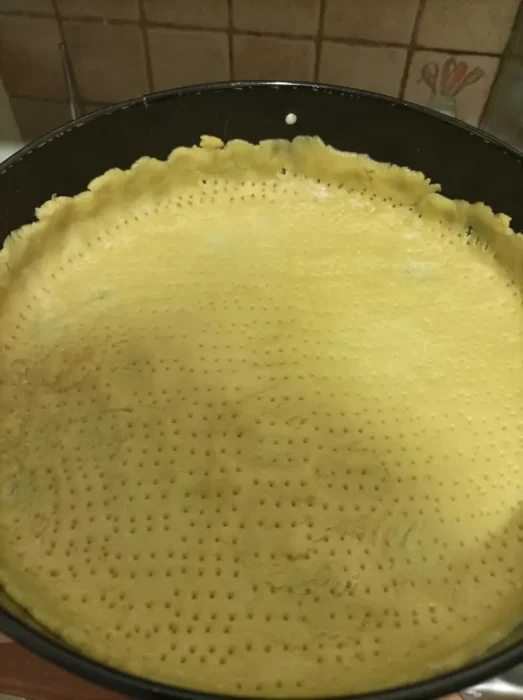
Now, use a fork to poke holes on the shortcrust pastry. This is important because it will avoid the formation of unesthetic air bubbles during the baking process.
Now, it’s time to bake the pie crust. Baking a pie without its filling is called “blind baking“. When you do it, you should always cover the top of the pan with a piece of greaseproof paper, and add some pie weights.
These are usually small balls made of ceramic or metal. They weigh on the dough so that it stays perfectly nested against the pan surface and doesn’t shrink or develop air pockets. However, don’t worry if you have them: you can use beans or chickpeas, like I did.
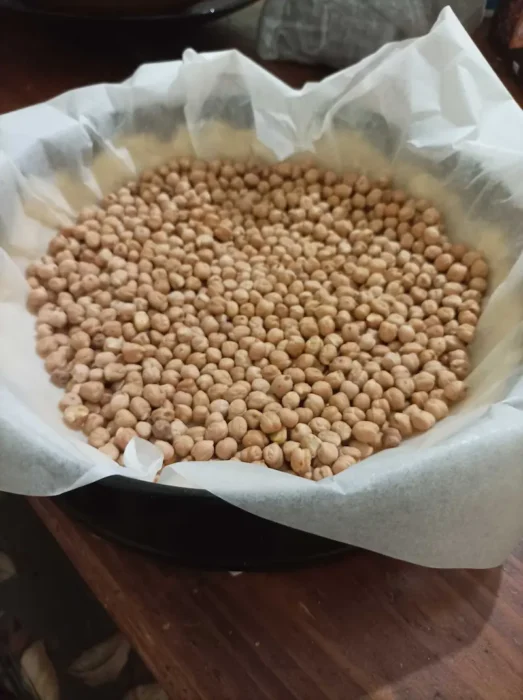
This way, you don’t have to buy another tool, and you can make two recipes at once. After baking, you can season the chickpeas with oil, spices and herbs – and there you have a healthy snack. But let’s focus on the pie crust for now.
Bake it at 356° F for 20 minutes, then take off the pie weights and keep baking at 302° F for another then minutes. After that, take the pan out of the oven, open its sides, cover it with a cloth, and let your pie crust cool down.
Making the filling
For the filling I went more on the safe side, with a recipe I use quite often.
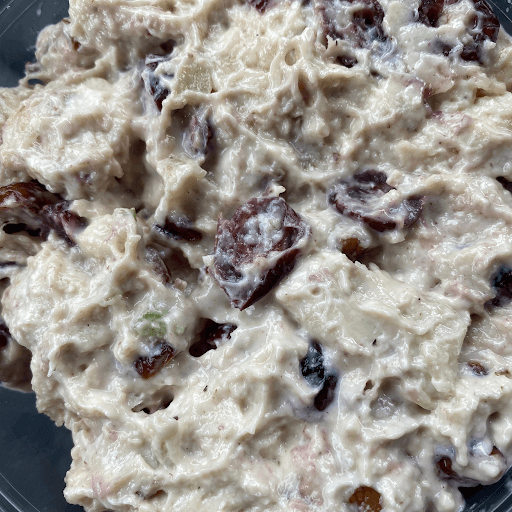
First, I soaked the gelatin sheets in a small bowl. Then, I whipped 1 cup of heavy cream until stiff. I softened the cream cheese with a hand whisk, and then incorporated it into the whipped cream.
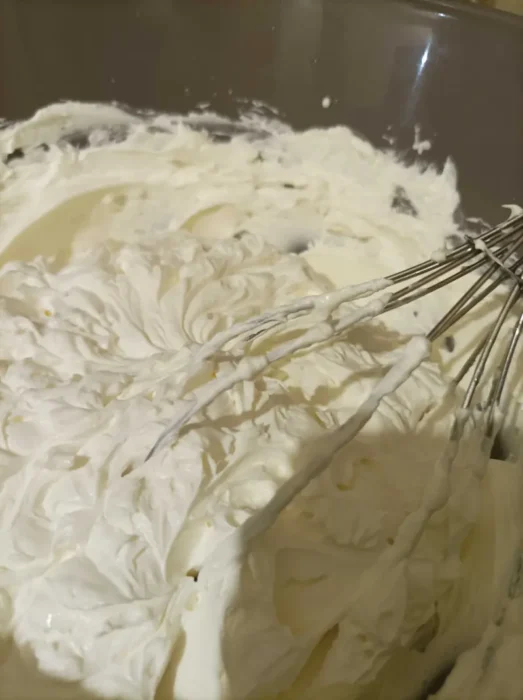
After that, I squeezed out the gelatin and melted it in a small pot along with 1/3 cup of cream. Then I sifted it into the bowl with the rest of the filling, and stirred with the hand whisk.

Now, it was time to assemble the pie. I took the pie crust I had made earlier, and used a kitchen brush to coat it with coconut-flavored rhum.
I waited a few minutes for the rhum to soak in well, then added the filling I had just made, and put everything in the refrigerator to rest for 5 hours.
Flavored rhum aside, this is my standard way of making the filling for any cheesecake/cheese pie. It’s simple and tasty, but in hindsight I could have added 6 tbsp of grated coconut and it would have been perfect for this recipe.
The pineapple topping
Making the topping was quite simple. First of all, I took another gelatin sheet and soaked it in water for 10 minutes. In the meantime, I blended some pineapple slices with an immersion food processor. Then, I simmered them with sugar in a saucepan at low heat, occasionally stirring with a spoon.

When the pineapple and sugar mix started thickening, I added the gelatin sheet and stirred well to prevent any gelatin lump from forming. After that, I let the pineapple topping cool down in a bowl for a few minutes, and poured it onto the pie.

I let it in the fridge for another 90 minutes, and then I tasted it.
Conclusion & Recipe Card
I liked my beta version of this piña colada cheese pie. It was fresh and tasty, and I could taste the hints of rhum, coconut and pineapple that I had meant it to have.
That being said, I feel I could have done much better. I would have liked the crust to be a little thicker, and I could have given an extra coconut flavor to the filling. I also felt I could improve the cheese mix and the topping a little.
So, I’ve made all the due corrections, and here is my piña colada cheese pie recipe card 1.0. Let me know if you try it, or if you have some suggestions on how to improve it. I’m going to try them all!
Print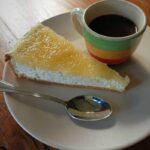
Piña Colada Cheese Pie
- Total Time: 6 hours 45 minutes
- Yield: 8 1x
Ingredients
For the pie crust:
2 large eggs
2 + 2/3 cups of all purpose flour
4 tbsp sugar
11 tablespoons of extra virgin olive oil (or 1 stick of unsalted butter)
a pinch of salt
(optional) 1 tsp baking powder
1 shot of coconut flavored rhum
For the filling:
2 cups cream cheese
1 + 1/3 cup heavy cream
7 tbsp caster sugar
12 grams gelatin sheets
6 tbsp grated coconut
For the topping:
12 oz pineapple slices
1/2 cup granulated white sugar
1 gelatin sheet
Additional tools:
a 9-inch springform pan
a box of pie weights (if you don’t have them, you can use dry chickpeas or beans)
Instructions
Making the pie crust:
- Preheat the oven at 356° F.
- In a large bowl, mix the eggs with the sugar. Then add the olive oil while whisking with a hand whisk.
- Sift the flour and baking powder, and add them to the bowl.
- Mix with a spatula or your hands until you get a shortcrust pastry ball.
- Wrap the ball in plastic film and let it rest in the fridge for about 40 minutes.
- When the cooling time has passed, take the ball out of the fridge and spread it on a springform pan, covering the bottom and at least 1/3 of its sides. The bottom of the pan should be covered in greaseproof paper.
- Use a fork to poke holes on the shortcrust pastry.
- Cover with greaseproof paper and add the pie weights.
- Bake at 356° F for 20 minutes, then take away the pie weights and bake for another 10 minutes at 302° F.
- Take the pie crust out of the oven and let it cool down.
You can open the springform pan to allow the crust to cool down earlier. However, you’ll need it later when you add the filling and the topping, so don’t put it away.
Making the filling:
- Soak the gelatin sheets in a small bowl for at least 10 minutes.
- In the meantime, save 1/3 cup of heavy cream for later, then whip the rest until stiff.
- Soften the cream cheese, and incorporate it into the whipped cream.
- Squeeze the gelatin and melt it in a small pot along with the remaining heavy cream, then sift it onto the rest of the filling.
- Add the grated coconut and stir.
- Take the pie crust, put it back in the springform pan, and use a kitchen brush to coat it with the coconut-flavored rhum.
- Add the filling and spread it evenly.
- Let the pie rest in the fridge for at least 3.30 hours.
Making the pineapple topping:
- Take another gelatin sheet, and soak it in water for 10 minutes.
- In the meantime, blend the pineapple slices with a food processor.
- Take a large saucepan, add the sugar, and put on the stove at medium heat.
- Add the blended pineapple and simmer until it thickens, stirring occasionally.
- Add the gelatin sheet and stir well until it melts completely.
- Let the pineapple topping cool down in a bowl for a few minutes, then pour it onto the pie.
- Put the pie back in the fridge for another 1.30 hours.
Enjoy!
- Prep Time: 75
- Cooling time: 300
- Cook Time: 30
- Category: Dessert